Your own AI agent in 5 simple steps
No tech skills needed — just follow along.
Pick your server
Choose the machine your agent will live on. Start small and cheap — you can upgrade later. Click any plan to continue.
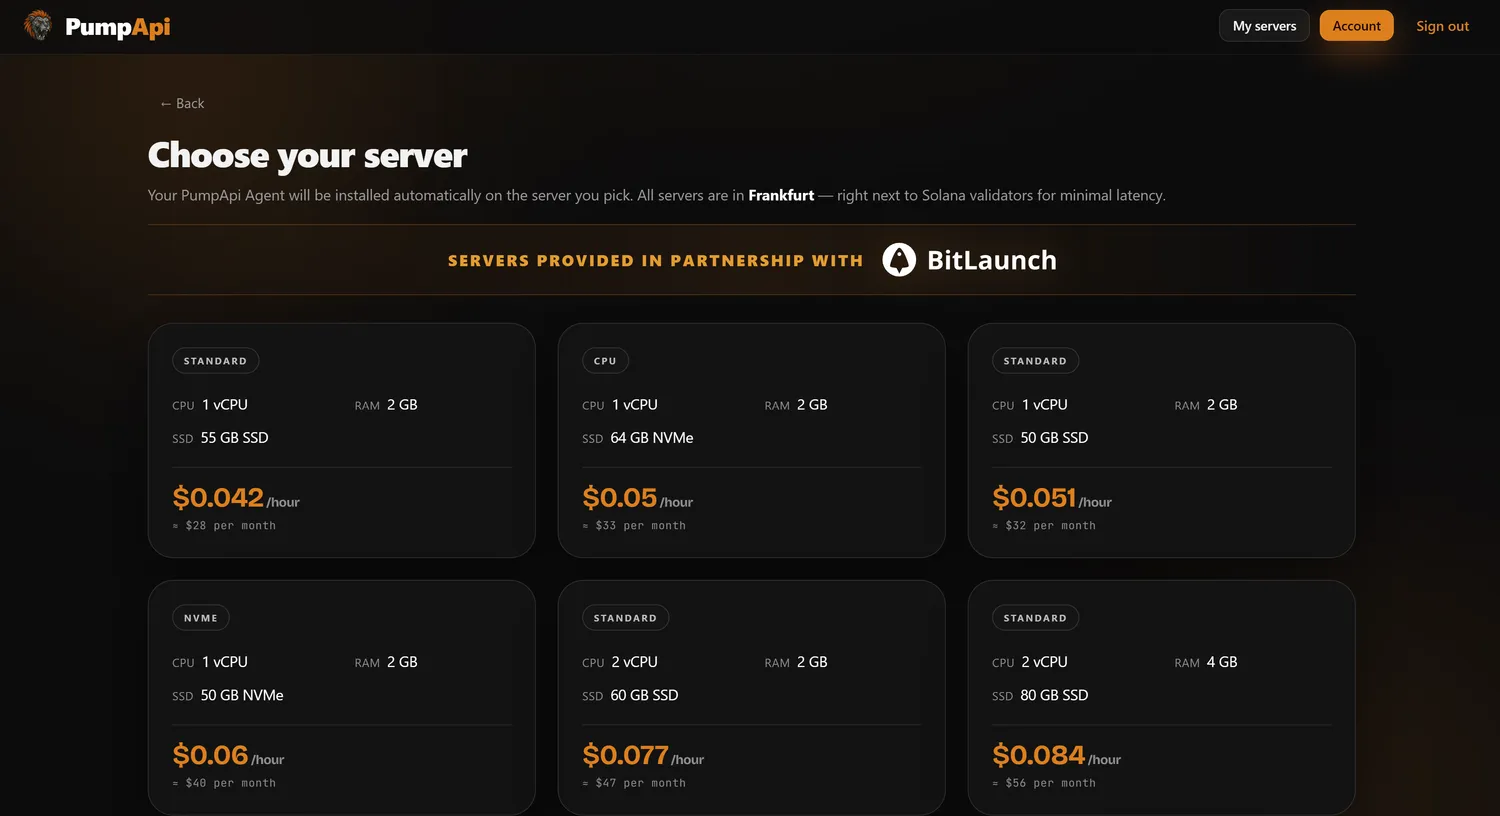 👆 Click any plan
Pay with crypto
Top up your Server balance to rent the machine. Pay with any crypto that BitLaunch supports.
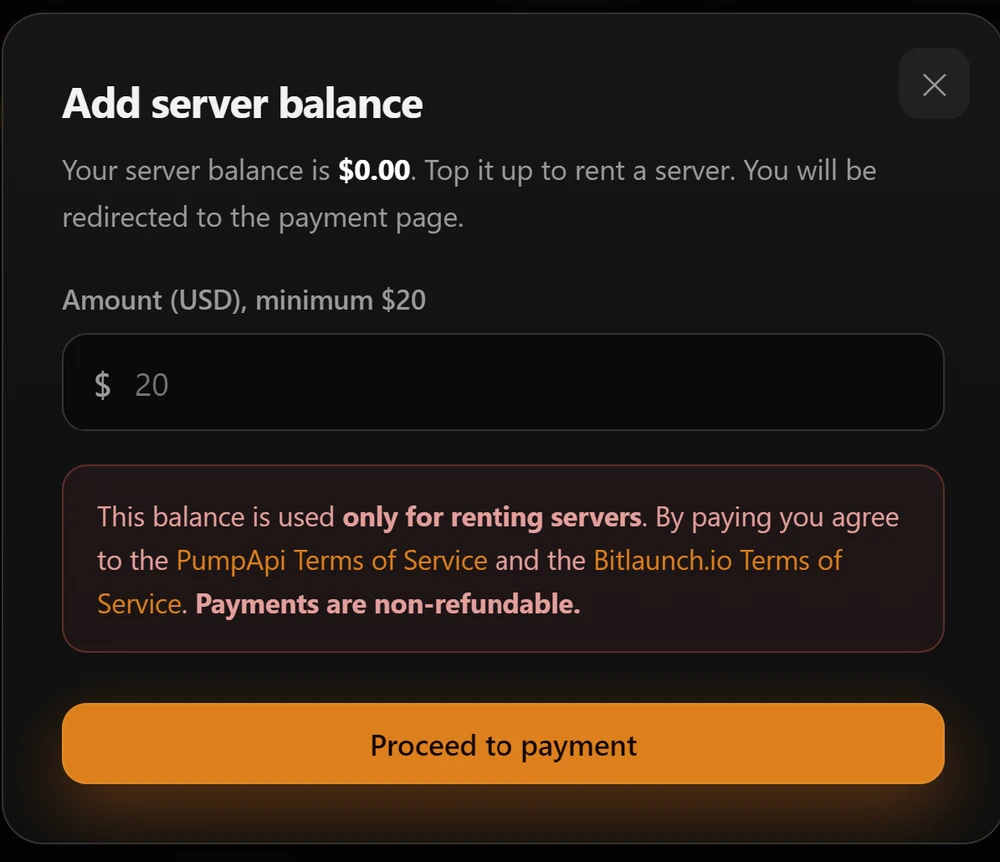 Pay to continue
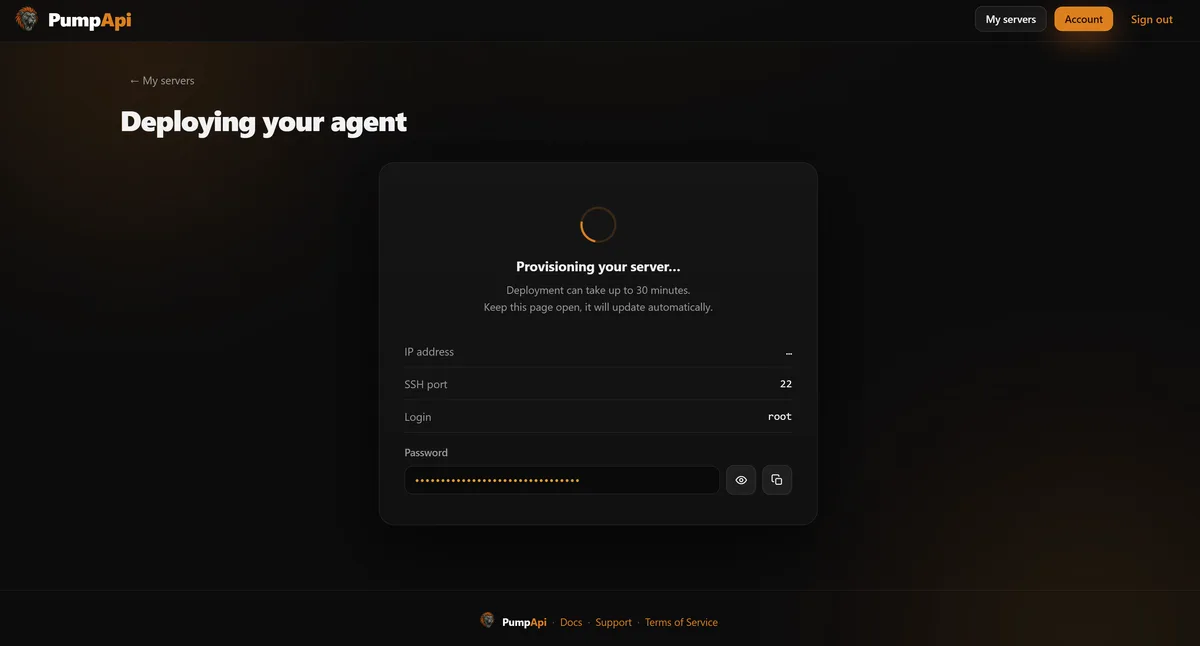
Wait for your agent to deploy
Once paid, your server is set up and your agent is installed — all by itself. Nothing for you to do here.
Top up your LLM balance
This is the fuel your agent thinks with. Top it up so it can chat and work for you.
 Add LLM funds
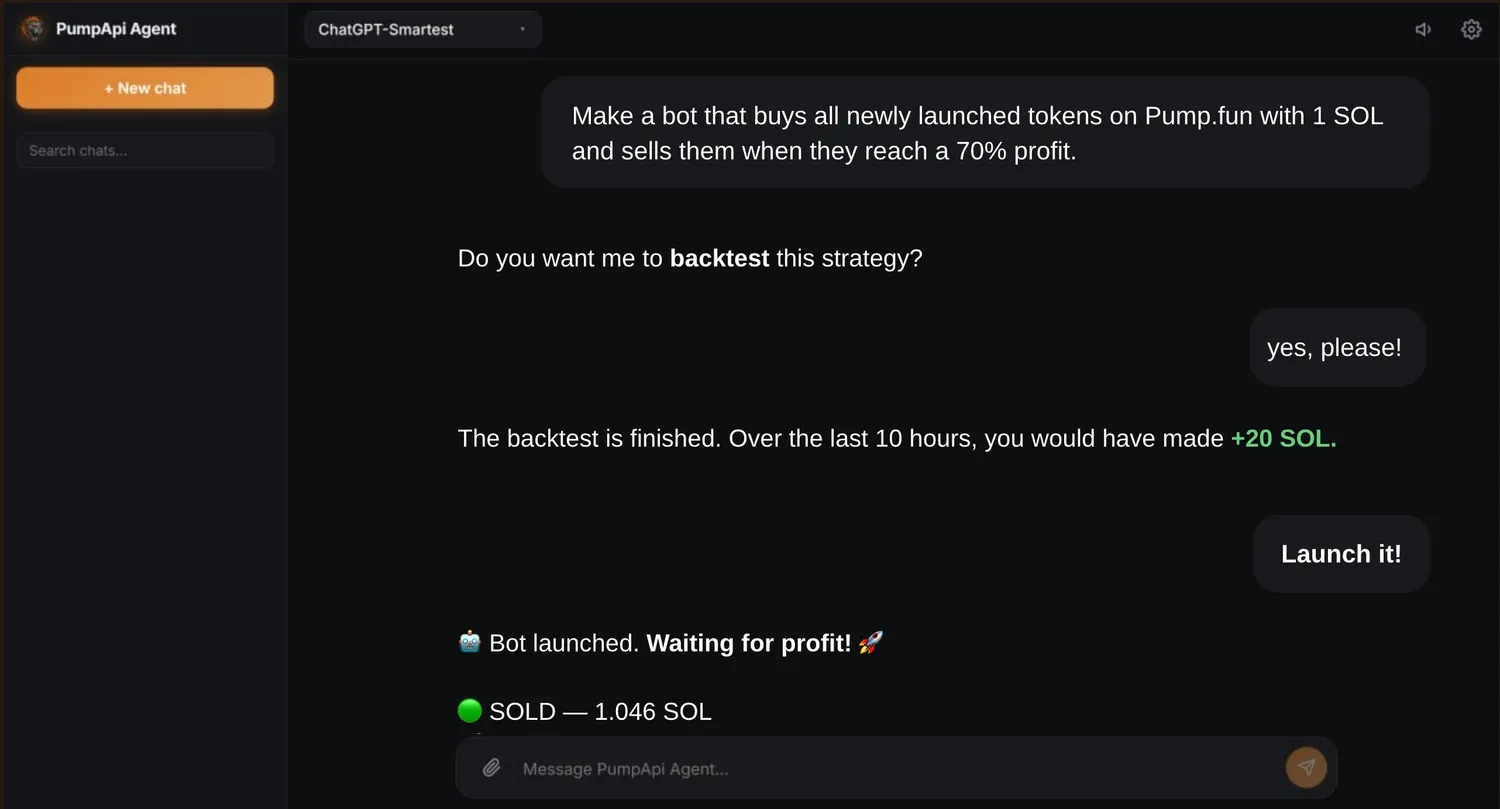
Start chatting
That's it 🎉 Open your agent and just tell it what you want — in plain words. It builds, backtests and runs your trading bots, and far more.
Which AI model should I use?
AI costs money per message, so pick the right brain for the task.
Claude
The smartest model. Best results, even on hard tasks. It is also the most expensive.
ChatGPT
Great for most tasks. Good results at a medium price. A safe choice.
 Cheapest
GLM & Kimi
The cheapest — a few cents per task. Good for simple tasks, but they make many mistakes on hard ones.